Garage Floor Coatings in Chicagoland
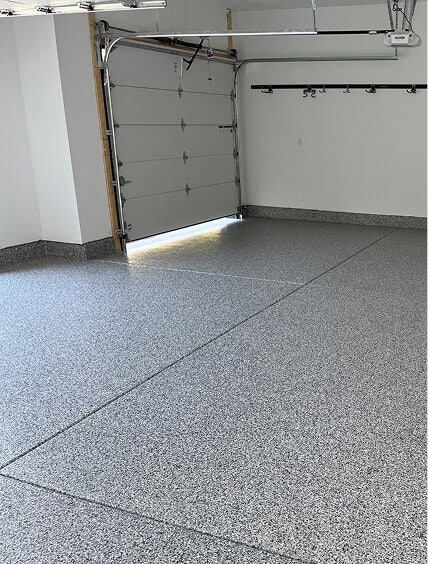
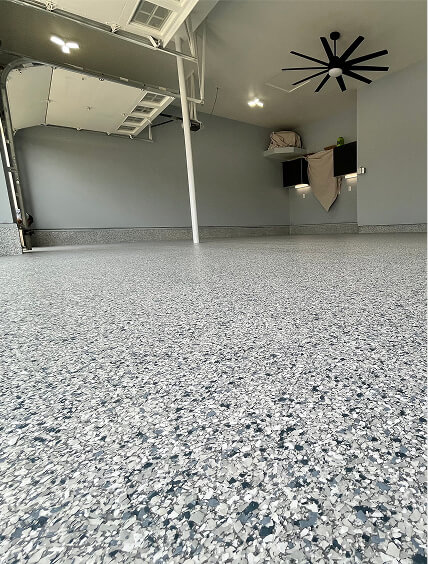
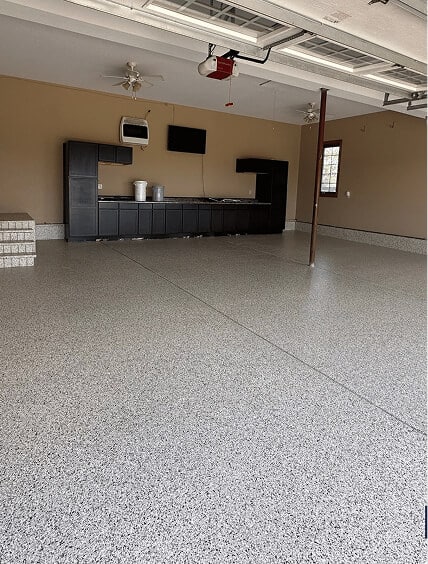
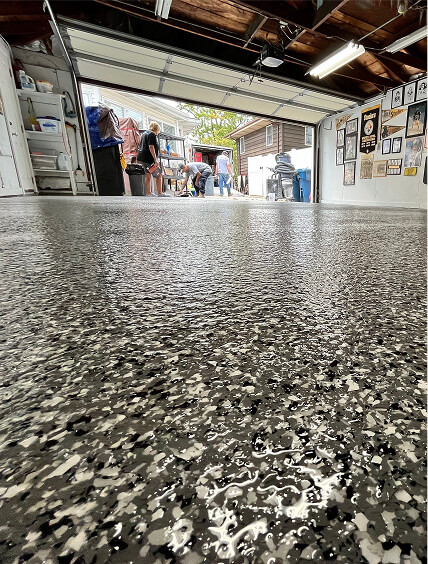
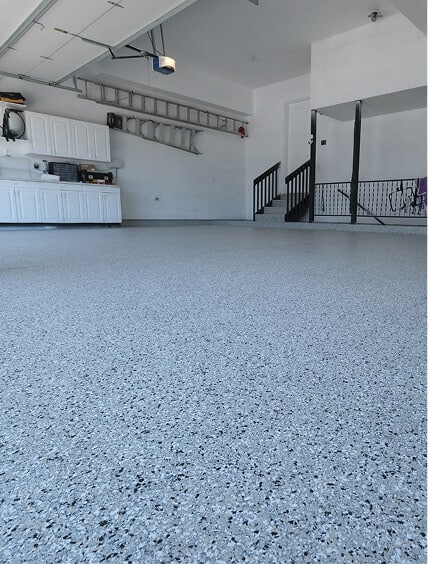
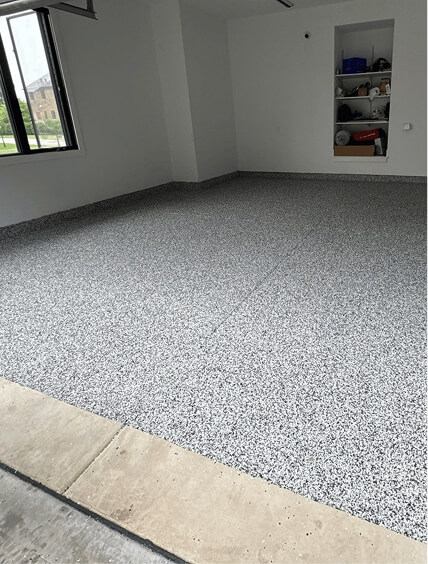
Need a tough floor coating solution for your garage? Level 10 Coatings installs a premium concrete coating with a signature flake system that enhances the appearance of your garage and improves its durability. Our solutions breathe new life into spaces in need of a sturdy and easy-to-maintain floor.
Your garage’s concrete floor takes a lot of wear and tear from vehicles, heavy equipment, foot traffic, and even weather. A damaged and stained floor makes your garage look uglier and can be harmful to your vehicle’s tires. Additionally, pits and cracks can pose safety risks.


